Wall Trim Repair Services Overview
Visitors will learn about Wall Trim Repair services offered by local contractors and how to compare and connect with these service providers.
- - Residential homeowners seeking to restore or improve interior wall trim details.
- - Commercial property managers needing professional wall trim repairs for office or retail spaces.
- - Contractors looking to connect with local specialists for precise and reliable wall trim restoration projects.

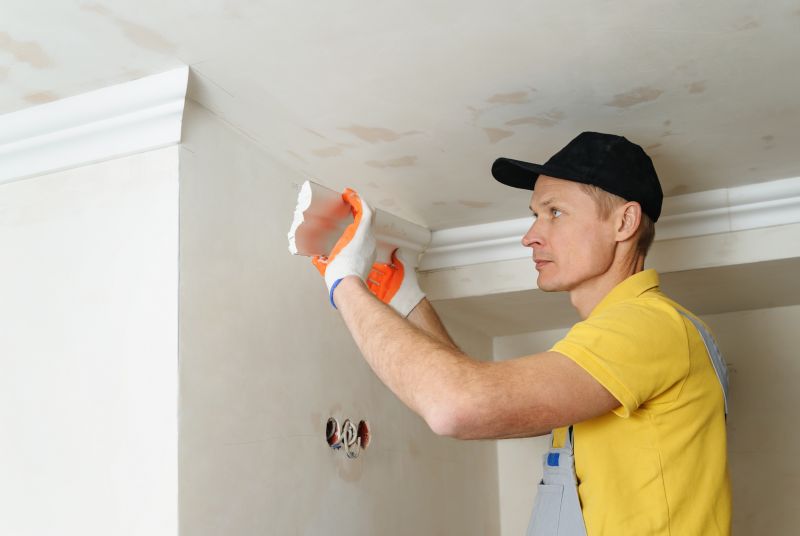

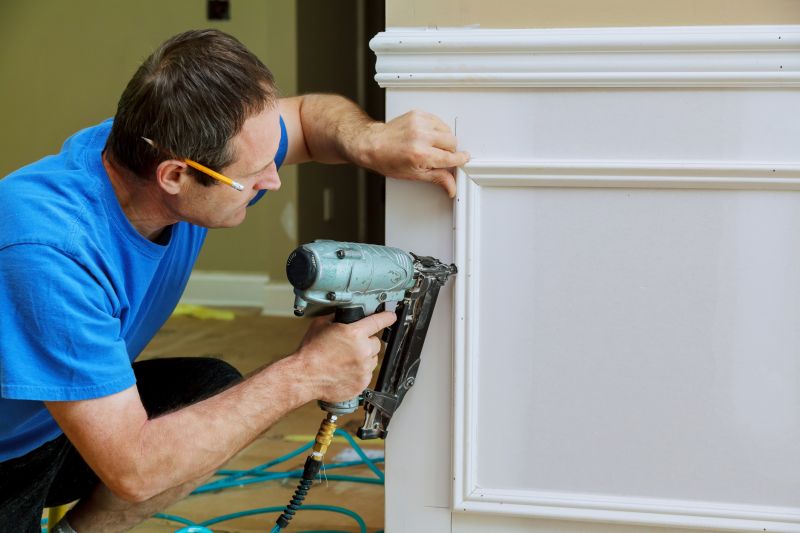
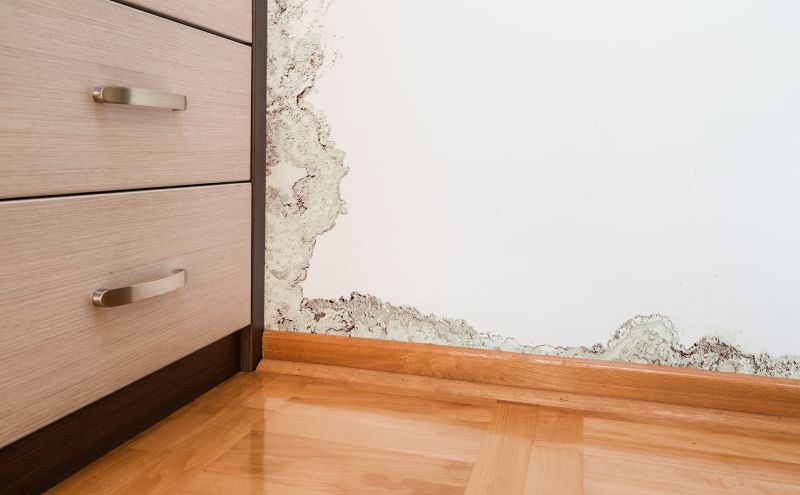
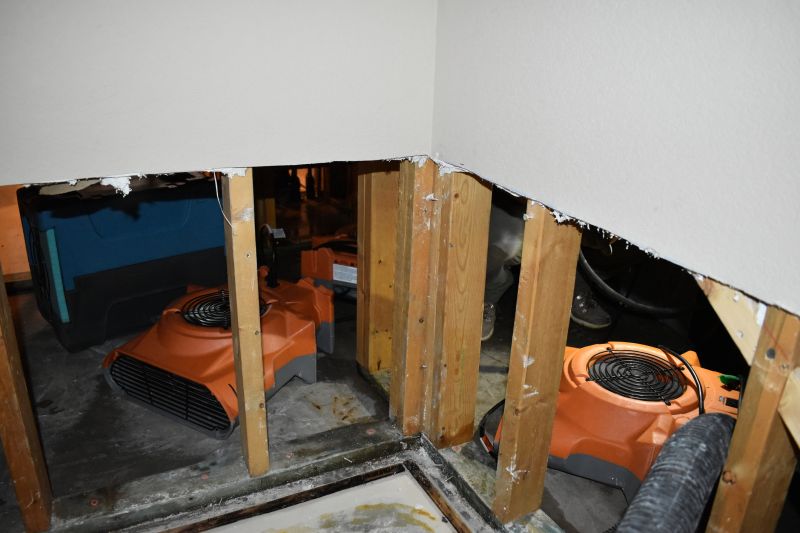
Wall trim repair services are essential for maintaining the appearance and integrity of interior spaces. When walls are damaged by impacts, moisture, or age, local contractors who specialize in trim repair can assess the extent of the damage and restore the wall’s surface. These professionals typically handle tasks such as replacing or repairing baseboards, crown molding, chair rails, and other decorative or functional wall trim components. Property owners often seek out local service providers to address issues like cracks, dents, or water damage that can compromise both the look and the structural stability of wall trim.
Connecting with nearby contractors who focus on wall trim repair offers a practical way to ensure the work is completed to standard. These service providers are familiar with common wall conditions and can recommend appropriate solutions based on the specific needs of each property. Whether dealing with minor cosmetic fixes or more extensive repairs, local pros can provide the expertise needed to restore the appearance of interior walls and enhance the overall aesthetic of a space. This approach allows property owners to compare options and find the right professional for their wall trim repair needs.
This guide provides helpful insights to understand wall trim repair needs and common approaches. It assists in comparing local service providers and understanding what to share when reaching out. The information aims to support making informed decisions about hiring local contractors for wall trim repairs.